boost库的安装
前文介绍过boost库的安装,这里再次介绍一遍。
先去官网下载boost库最新版本
https://www.boost.org/users/download/
选择windows版本下载,zip和7z格式的都可以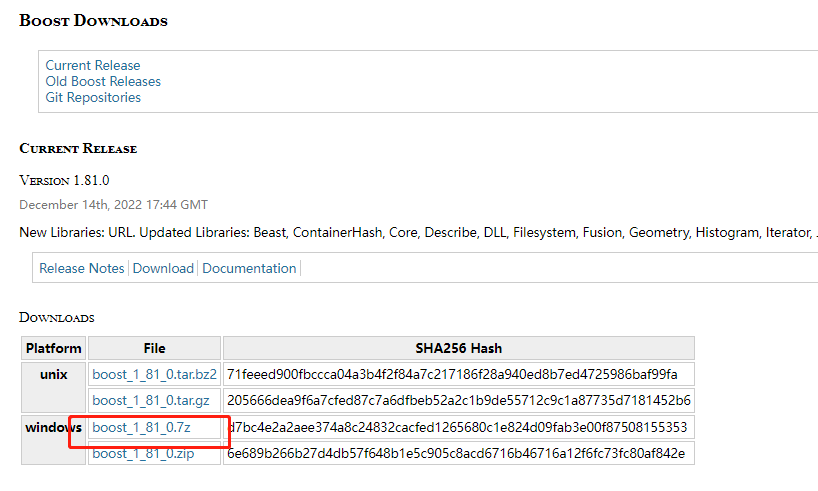
解压后文件夹下有个一个bootstrap.bat文件,双击运行会生成b2.exe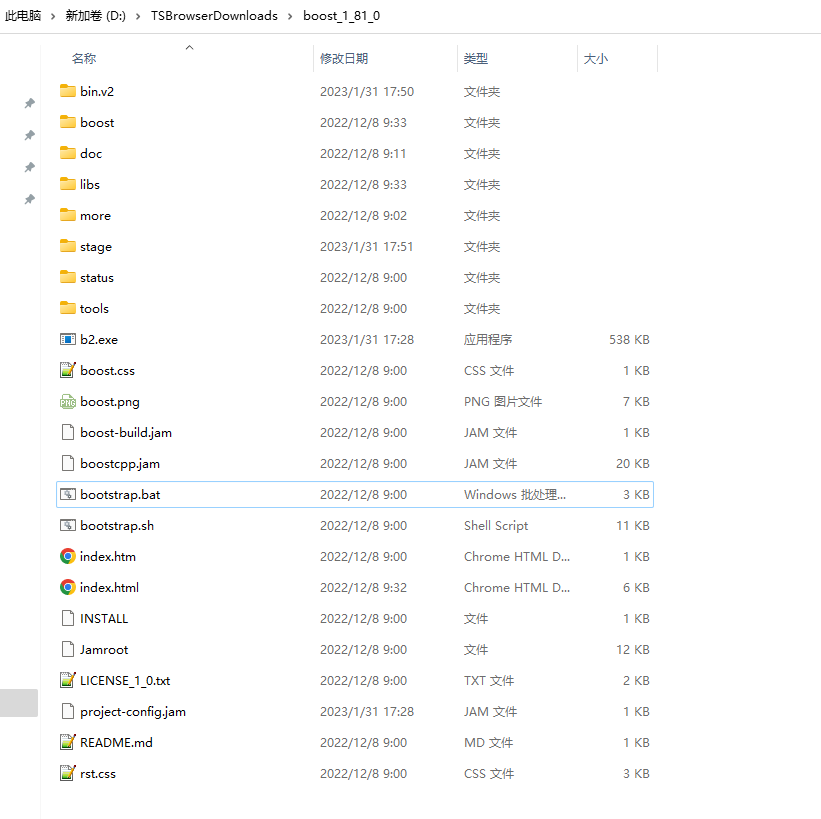
然后在boost文件夹下启动cmd,执行 “.\b2.exe toolset=msvc”
编译时间和机器性能有关,执行编译过后,会在stage文件夹下生成lib文件夹,里面就是我们要用到的lib库。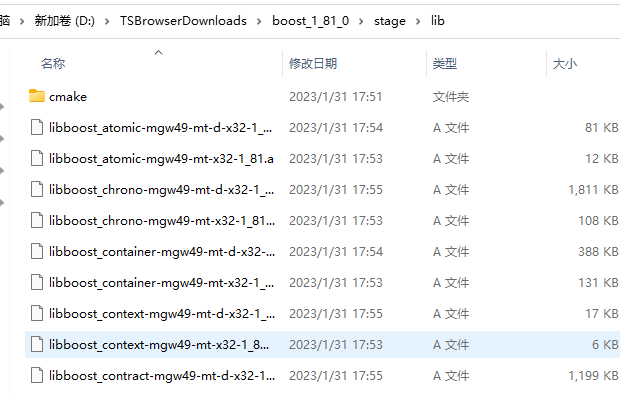
visual配置boost
有两种方式使用boost库,一种是配置在项目工程里,一种是配置在环境变量里,推荐配置环境变量的方式使用boost库。
这里先介绍项目中配置
我的boost库目录在D:\cppsoft\boost_1_81_0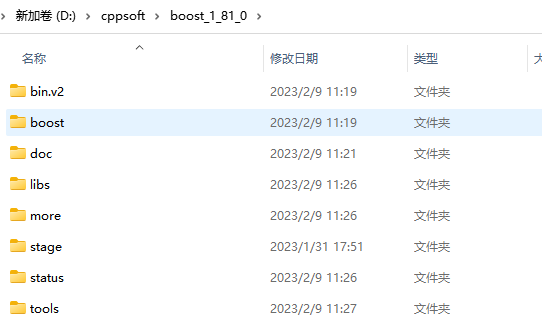
打开visualstudio 创建一个控制台工程,然后右键工程选择属性
选择VC++目录—-》包含目录,添加 D:\cppsoft\boost_1_81_0;
选择VC++目录—-》库目录,添加 D:\cppsoft\boost_1_81_0\stage\lib;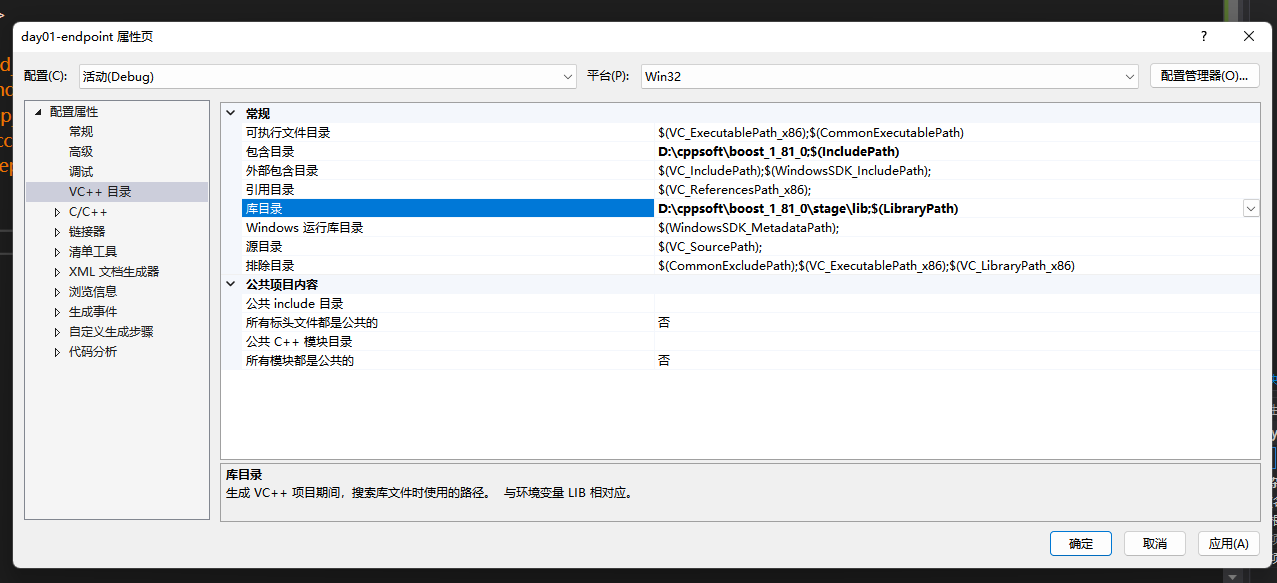
然后我们写一段代码测试
#include <iostream>#include <string>#include "boost/lexical_cast.hpp"int main(){using namespace std;cout << "Enter your weight: ";float weight;cin >> weight;string gain = "A 10% increase raises ";string wt = boost::lexical_cast<string> (weight);gain = gain + wt + " to "; // string operator()weight = 1.1 * weight;gain = gain + boost::lexical_cast<string>(weight) + ".";cout << gain << endl;system("pause");return 0;}
我们运行程序可以看到运行成功了,并且弹出了窗口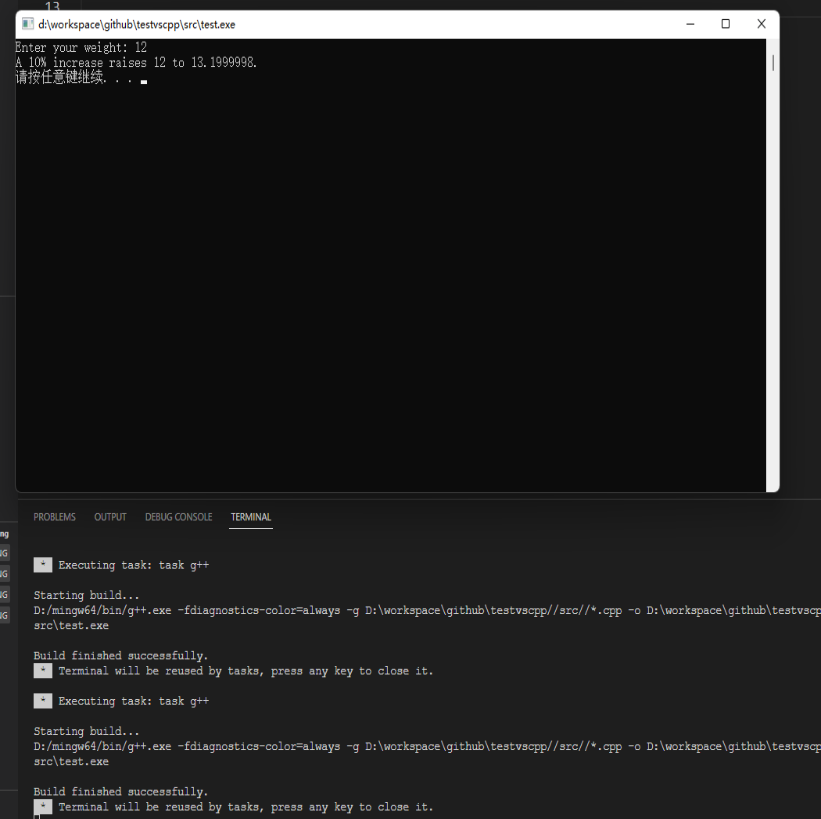


为什么我执行完之后不生成stage文件 有大佬可以帮忙提供一些解决思路么?
执行 “.\b2.exe toolset=msvc”出错试一下执行 “.\b2.exe toolset=msvc address-model=64 architecture=x86”
VC++目录--->库目录、包含目录
C/C++--->附加包含目录,链接器--->附加库目录、附加依赖项
这两种配置方式有什么差异?我看有些博客用上面的方法有些用下面的方法
大佬,b2.exe没有对新版VS2022(MSVC=14.40)进行支持,我去GitHub的issue看了(#391, #394),所以对于新版的VS2022来说,要么回退版本,要么使用MinGW进行编译,在这里提醒一下
能不能更新一下使用环境变量的方法来配置boost库